Table of contents
No headings in the article.
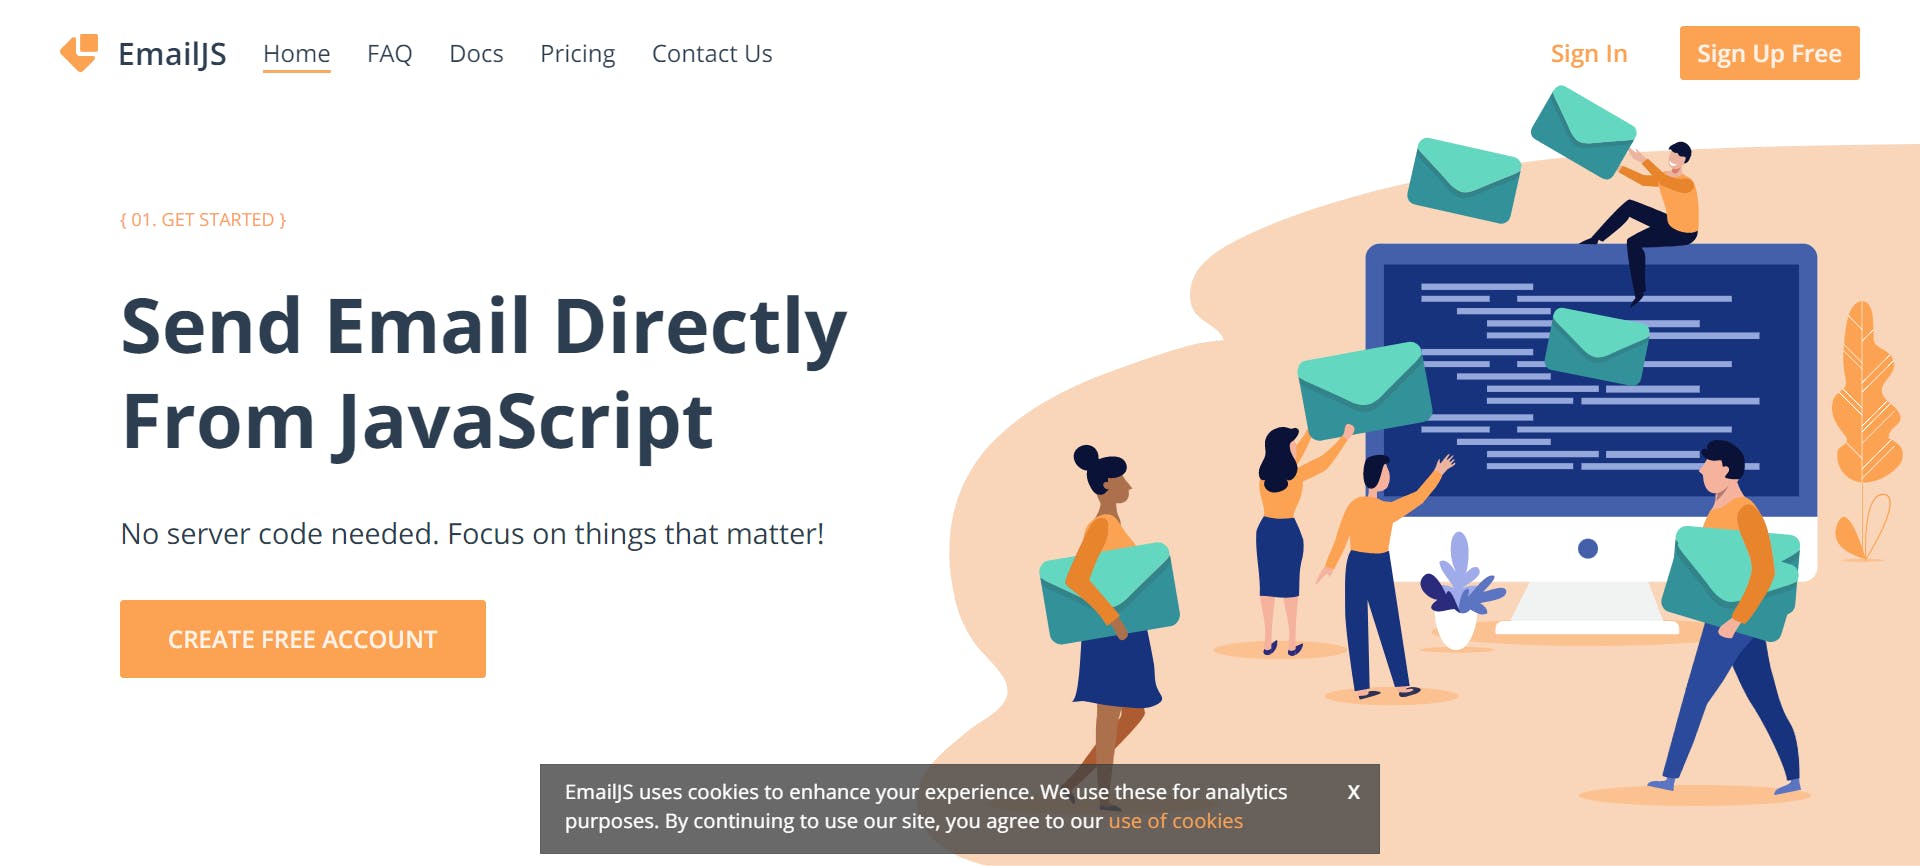
EmailJS helps to send emails using client-side technologies only. In simple terms, it gives the access to send connect your contact form, directly to your email, without a server from the frontend. The steps to take are,
- Visit the Email.js web page, and create a free account

- Connect your email Once you created your account you can access the EmailJS dashboard. In the dashboard, you can add your preferred email service.
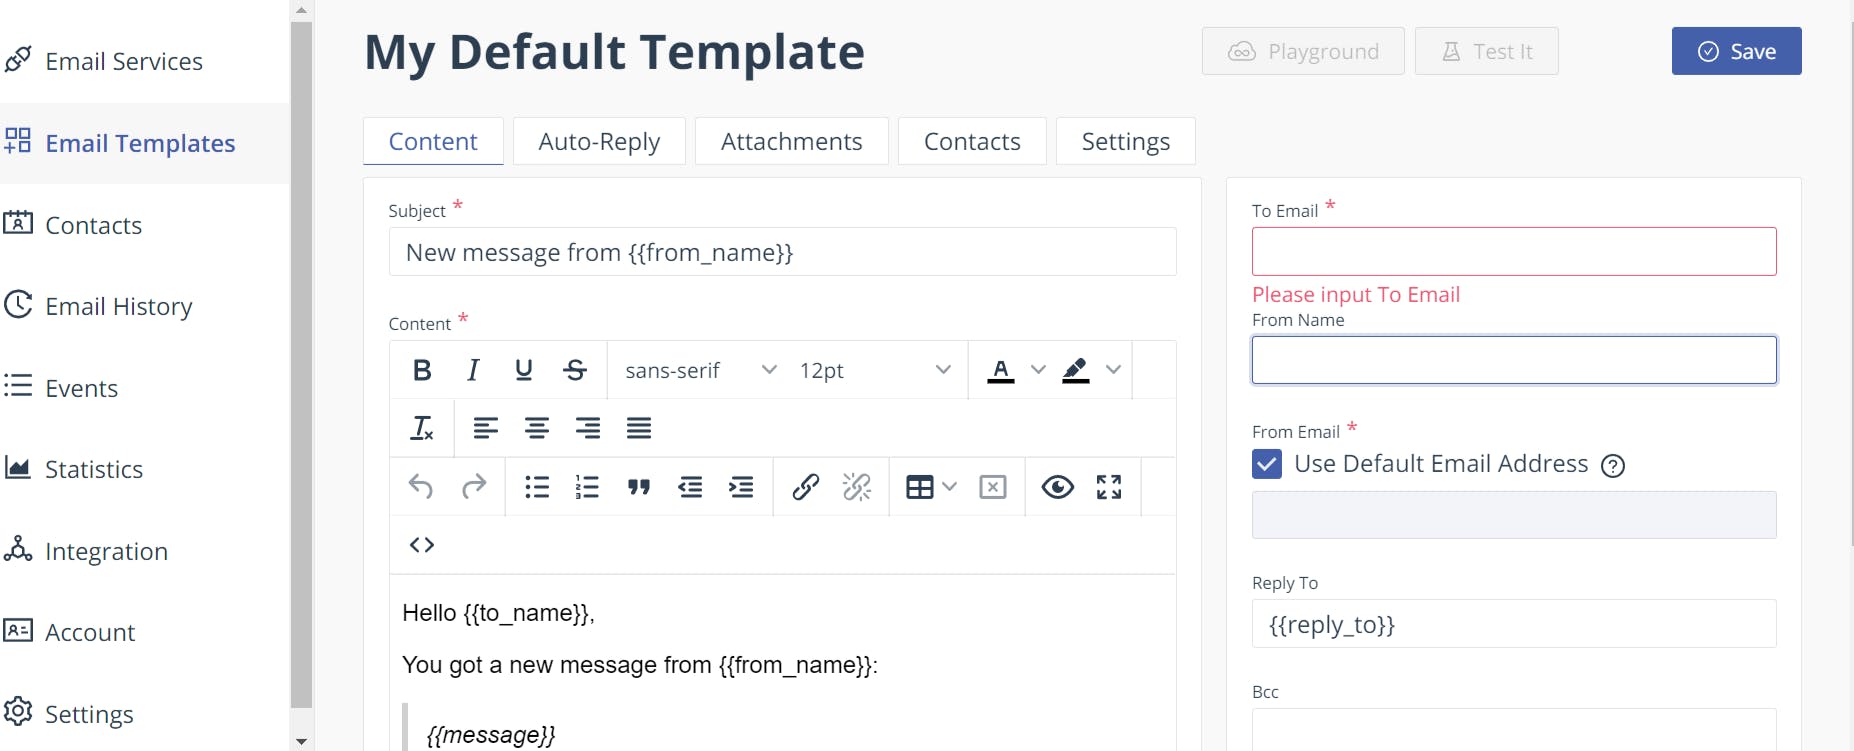
- Create an email template

Open your code in the terminal and type
$ npm install @emailjs/browser --saveOpen your form in your source-code editor and then import email.js with the following snippet
import emailjs from "@emailjs/browser";
- Add your onSubmit method in your form
<form onSubmit={sendEmail}>
          <Grid container spacing={2}>
            <Grid item xs={12} md={8}>
              <h2>Send us a message</h2>
              <Grid container spacing={4}>
                <Grid item xs={12} md={6}>
                  <TextField
                    fullWidth
                    label="Full Name"
                    name="name"
                    className={styles.Contacts__Input}
                    sx={{ marginBottom: "20px" }}
                  />
                  <TextField
                    fullWidth
                    label="Email"
                    name="email"
                    className={styles.Contacts__Input}
                    sx={{ marginBottom: "20px" }}
                  />
                  <TextField
                    fullWidth
                    label="Phone"
                    name="subject"
                    className={styles.Contacts__Input}
                    sx={{ marginBottom: "20px" }}
                  />
                </Grid>
                <Grid item xs={12} md={6}>
                  <TextField
                    label="Message"
                    name="message"
                    multiline
                    rows={8}
                    fullWidth
                  />
                  <Button
                    startIcon={<Send />}
                    type="submit"
                    variant="contained"
                    color="secondary"
                    sx={{ marginTop: "20px", color: "#fff" }}
                  >
                    Submit
                  </Button>
                </Grid>
              </Grid>
            </Grid>
            <Grid item sm={12} md={4}>
              <h2>Contact Details</h2>
              <h3>Address</h3>
              <p>Road 2, B53 ,Ikota Shopping Complex Ajah</p>
              <h2>We're Open</h2>
              <p>Mondays to Friday 8:00am to 5:00pm</p>
              <h2>Phone</h2>
              <p>+234-803-403-887-1</p>
            </Grid>
          </Grid>
        </form>
7 Add this code snippet to the script tag
function sendEmail(e) {
    e.preventDefault();
    emailjs
      .sendForm(
        "YOUR_SERVICE_ID",
        "YOUR_TEMPLATE_ID",
        e.target,
        "YOUR_USER_ID"
      )
      .then(
        (result) => {
          console.log("result: ", result.text);
        },
        (error) => {
          console.log("error: ", error.text);
        }
      );
    e.target.reset();
  }
After following these steps you will get your emails to your given email service. EmailJS provides additional features such as auto-reply, adding attachments, requiring CAPTCHA validation.
Thank you for taking out time to read this article and I hope you find this EmailJS guide very useful. Look forward to more informative write-ups from me.